Wednesday, 26 February 2014

Pinhole Camera Experiment

A 'PinHole Camera' is a simple camera, designed to function without a lens. This is done by the box of the camera being a box which doesn't allow light into it, with the exception of a small Pin sized hole. When uncovered the hole will allow some light into the box and makes its image onto the photographic paper inside. This creates a negative image.

Using the basic principles of a pinhole camera, a cheap easily usable one can be made from a can and tape.

For this expirement we needed a drinks can of some sort. By cutting off the top of the can, and creating a new, opaque lid with card and tape, we were able to create our own light sealed containers.

This was the finished 'Camera'


Friday, 14 February 2014

Ink Drops

We experimented by making use of water and ink. We got a range of glass containers, filled them with water and then dropped various colours of ink into them, then made use of macro/ super macro, to take pictures of how the ink spread through the water.

Contact Sheet


Analysis


With these images I found that these were rather hit and miss. I fag felt some worked really well and showed interesting effects, while others remained rather bland or didn't spread properly.
I made two types of effects using the ink, the first was using a flat glass container and taking shots from above.

This was one of the better flat glass photographs. I thought that the red ink opposed the blue colour that the rest of the image had. The red could be seen as a corruption effect, or a battle between good and evil. I thought the idea behind this metaphor , linked to the first thoughts of which I had Creation and Destruction as the opposing sides.


This photograph I thought was interesting as the ink streamed in from the top. I thought the shape formed from the ink seemed interesting.


This was one of the most interesting photographs I had taken. The black ink was stronger in colour than the rest so it created a more prominent shape. The way it spread created a veil effect, showing areas of thick ink to thin. This variation reminded me of the exposure differences with the photograms, the lights and darks variating with the weight of objects.


Tuesday, 11 February 2014

Cyanotypes


What are Cyanotypes?

Cyanotype refers to a photographic printing process that creates a cyan-blue print. This process was used to create engineering circles well into the 20th century. The simple use and lost cost made this a very effective process for producing large scale copies of their work, known commonly as 'Blue Prints'.

This process works via sunlight. When objects are placed onto the Cyan Paper, the shapes will start to set onto the paper. After a period of time, when the chemicals are washed off, it leaves behind some white markings in the shape of the objects. The results van vary with the time exposed to sunlight and how much there is.

History of Cyanotypes:

In 1842, the English scientist and astronomer Sir John Herschel discovered the process. Although he was the one who discovered it, he did not do much with it. It wasn't until Anna Atkins started developing this process into photography where it started to take off. She created a limited of books, made using the cyanotype process, she used this to catalog the various ferns and plant life she had collected over time. Since she first used this, she was regarded as the first female photographer.


Examples of Cyanotypes:


Anna Atkins 'Algae'


My own Cyanotype

Experiment 1

We had a chance to produce our own Cyanotype images using this technique. To start with, we gathered some various random objects, and placing the objects on the page.


After placing the objects on the page we left them in the sun for the development to take place.
I waited around 20 minutes before taking the objects off and washing the chemicals off the paper.
Once the paper dried, this was the end result.


I feel that although it created some interesting shape, It would have been better if we had some better sunlight. unfortunately at the time the sunlight was rather dim. If I get chance, I would like to try this again with better lighting and a new order of objects.

Experiment 2

I did another attempt while using the same low amounts of sunlight, however this time I tried using lighter objects. I used three feathers and overlaid the ends so that the feathers spread out across the page from the corner.


Photograms


What are Photograms?

A Photogram is  photographic image made without the use of a camera. This process works based of placing objects onto the surface of a light-sensitive material, normally photographic paper, and then exposing it to light. The results from this mostly result in a negative shadow image which shows variation of tone, depending on what objects are used.

From researching further into photograms I learnt some tips for altering and adjusting the photogram results:
-The variation in tone can be changed by using various transparencies in the objects.
- Areas which are white have had received no light
- Areas which are grey have received some light
- Areas which are black have received full light


This technique was often used by Man Ray, who in some ways was thought to have brought back this technique in his own way, although he called his own work 'Rayograms'


Example Photograms

This was one of the photograms made by Man Ray. It made use of various objects which related to photography. I thought that this piece gave a good example of how different objects react to the process. The glass to the right of the image is variating shades between black and white. I feel that this just makes the piece look more mysterious.


This photogram I felt was much more complex in comparison to other ones. They make use of a lot more transparent objects, rather than heavy opaque objects.


My Own Photograms

I had the chance to make my own photograms. I thought this would make for a good experiment for testing the ideas of 'Negative Images'. I always find this interesting as although it can be created through photoshop, getting the Negative Image in a physical form seems much more interesting.

Attempt 1

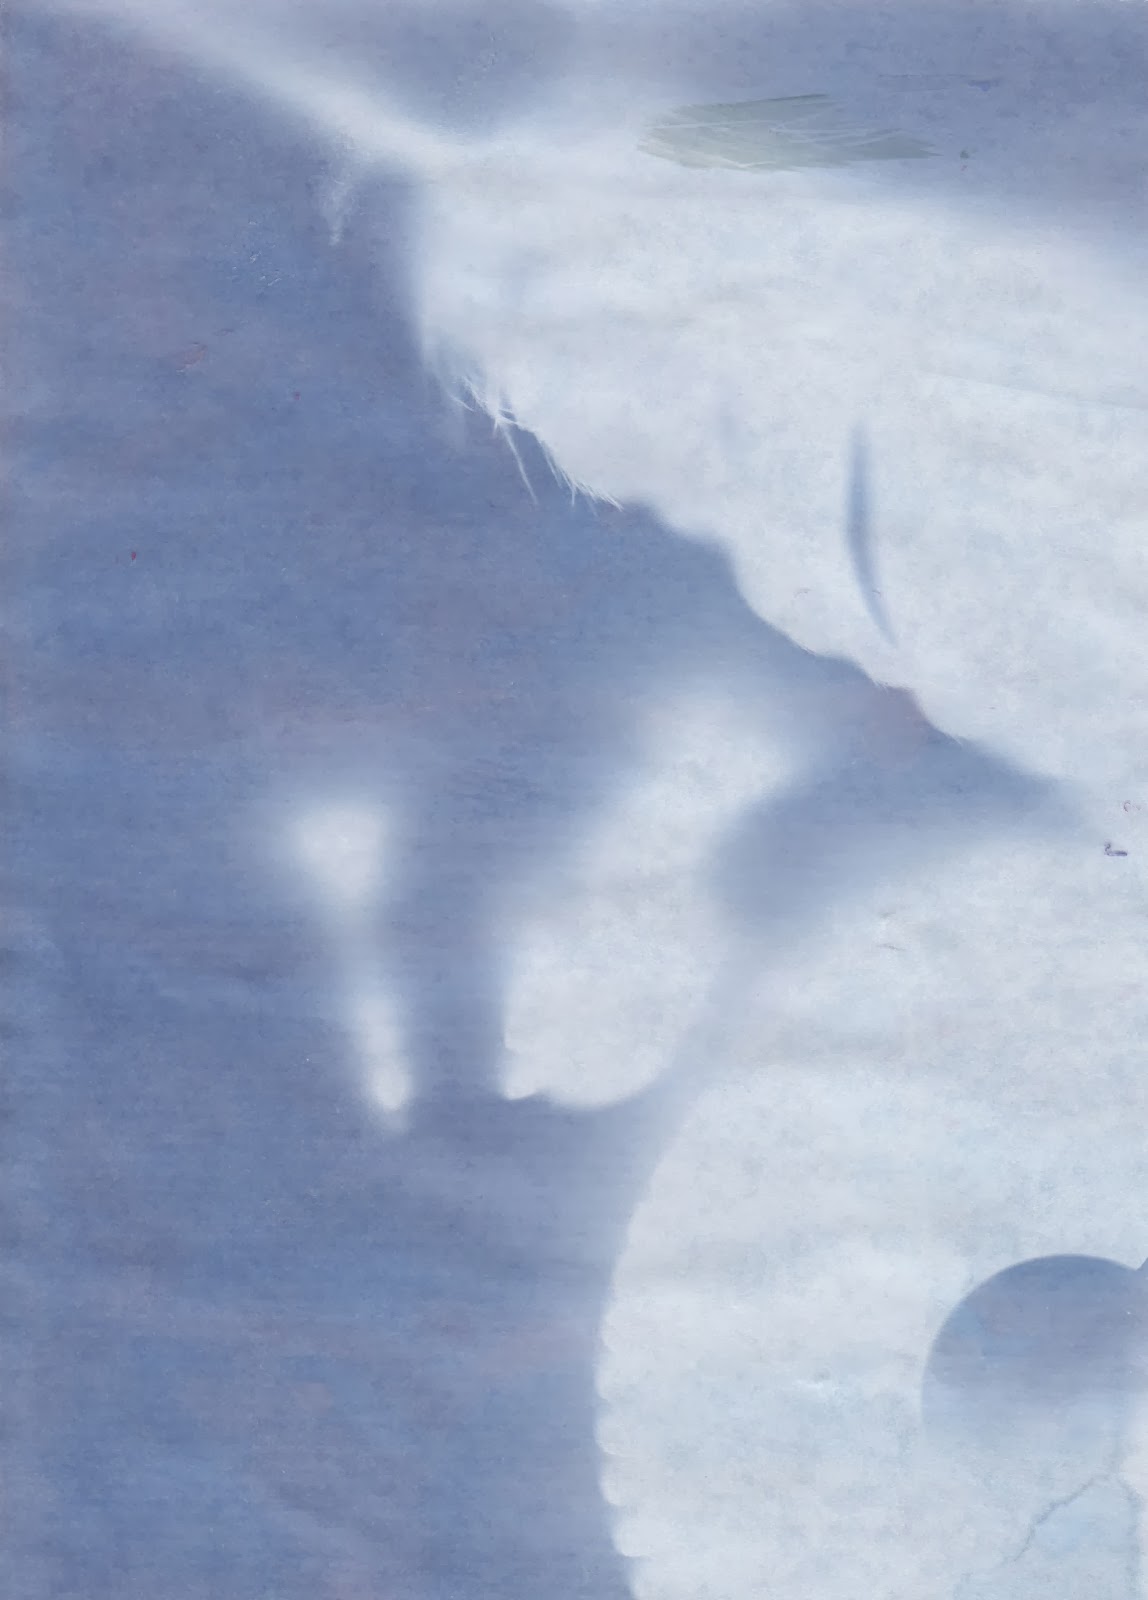
For my first attempt, I used a cog, some feathers and a chain. I wanted to show the chain wrapped around the cog and feathers, connecting them. This however didn't worked as planned. The objects are hard to make out and are not the most visible. With this in mind I thought of how I could modify the set up so that it was more visible.


Attempt 2


In this version I prolonged the exposure so that more light would get to it. This meant the objects are much more visible. This added a reflection effect to the chain which I thought was rather interesting. The only negative thought I had to this version was that there wasn't much variation in shade. It was rather pure white and a single grey. I thought that making the shades vary further.


Attempt 3


My third attempt worked really well I thought. There is much greater variation in shades and what I find most interesting is the streams of white through the photogram. I found that with this version, although the objects were again faded, various patterns had formed throughout the image. The pattern in the bottom left corner I thought was good as it really captured the variating shades idea that I wanted.

Monday, 10 February 2014

First Thoughts

The theme for this exam is 'Fire, Water, Earth, Air'. These are what were thought to be the original four elements. I thought this was a rather interesting topic as there are plenty of ways to go about this. My initial plan was to make a small mind map of all the different thoughts and ideas which I had based upon the exam.


My first two ideas were creation and destruction. This was how I decided to sort the ideas I came up with, by which linked into what. The Elements were originally said to be what made the world, however they are also seen as being parts of natural disasters and destruction. The classic metaphor, two sides of the same coin applies nicely here I believe.

Exam Cover